

Remember I promised to share the technique of the image transfer that I used as an example for IBT Technique # 8 shown at the left. 

Well, this is my secret! It's called Transfer Ink made by Stewart Superior Corporation and it's a gem!!
There are TONS of image transfer techniques out there...most are complicated, expensive, have many steps and are hit or miss at best.
So many of them can only be preformed using Xerox copies or need other "special" papers to make them work... Very frustrating if you live in a small town like I do and don't have access to copy or office supply stores.
WELL, I promise you that you cannot go wrong with this stuff! It is extremely easy, VERY quick and you can use it with INK JET IMAGES - both black & white and color images alike!! It can also be used to transfer stamped images. With a few easy steps you will produce a "watercolor" type image in a matter of a few seconds!
Now you say "watercolor"? I know...I wasn't sure about that myself but basically your images isn't as sharp as the original...it's a bit fuzzy like a watercolor image is. I find that if you start out with a very sharp image with good contrasting colors it transfers just fine. If your image is all very light it will be just a faint almost ghostly image transfer...very cool in some situations.
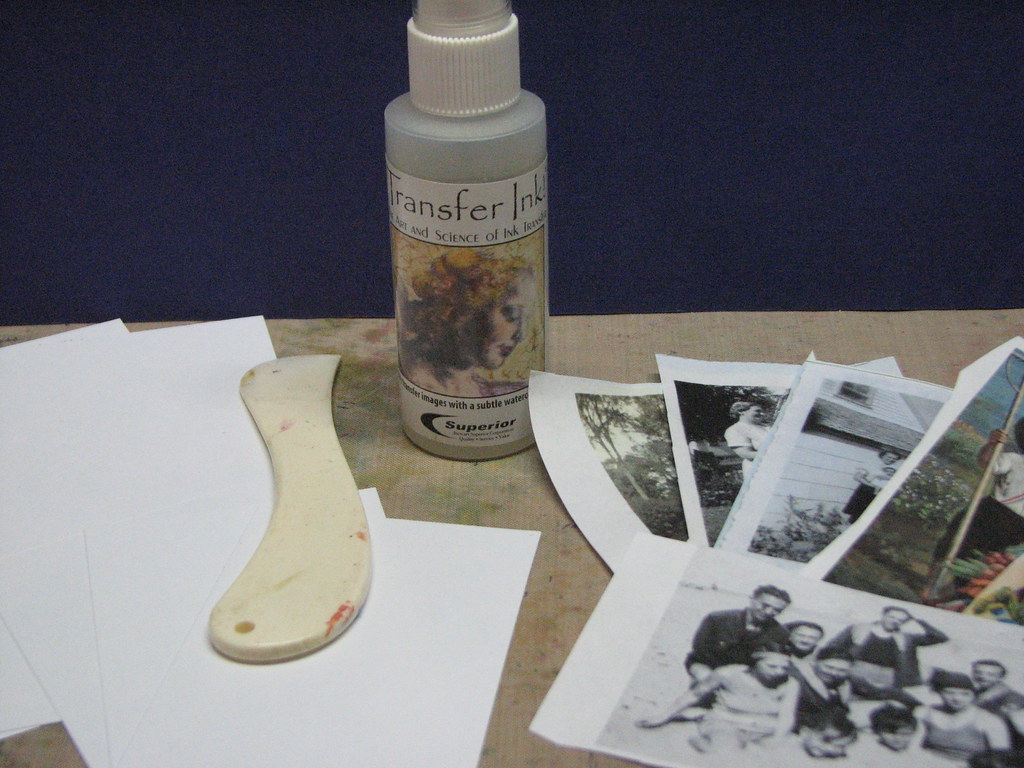
Supplies:
Transfer Ink - Stewart Superior
Ink Jet Images or Stamped Images
Cardstock or other items (to transfer images to)
Bone Folder
Instructions:
Instructions:
1. Begin by cutting your image down to size. Trim off any unwanted areas that you don't wish to be transferred.

2. Place your image face down onto the cardstock (or other item) you want to transfer the image to.
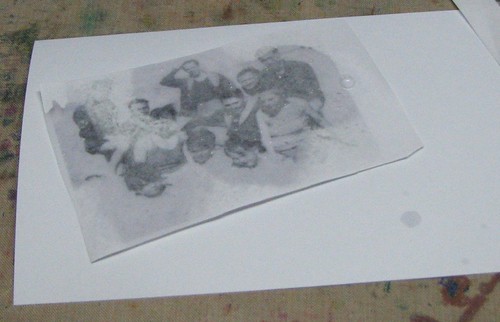
2. Place your image face down onto the cardstock (or other item) you want to transfer the image to.
3. Spritz the back side of the image until saturated as shown in the photo. *NOTE - don't worry if you get some of the Transfer Ink on other areas of your cardstock. It dries completely clear ;)
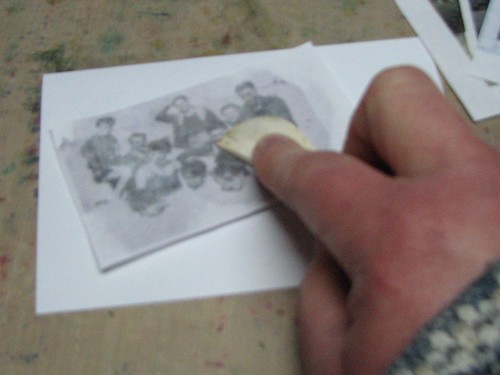
 4. Burnish the image using your bone folder. (The directions suggest using a cotton ball, cosmetic sponge or brayer but I find the bone folder makes the best transfer with a minimal amount of effort on your part. )
 4. Burnish the image using your bone folder. (The directions suggest using a cotton ball, cosmetic sponge or brayer but I find the bone folder makes the best transfer with a minimal amount of effort on your part. )
Now, if you think you've gone over the image enough, hold the image in place and peek under one corner to see if you have a good transfer. If you see areas that aren't completely transferred spritz a bit more Transfer Ink over that area & burnish again.

Let dry naturally or speed drying with a heat tool.
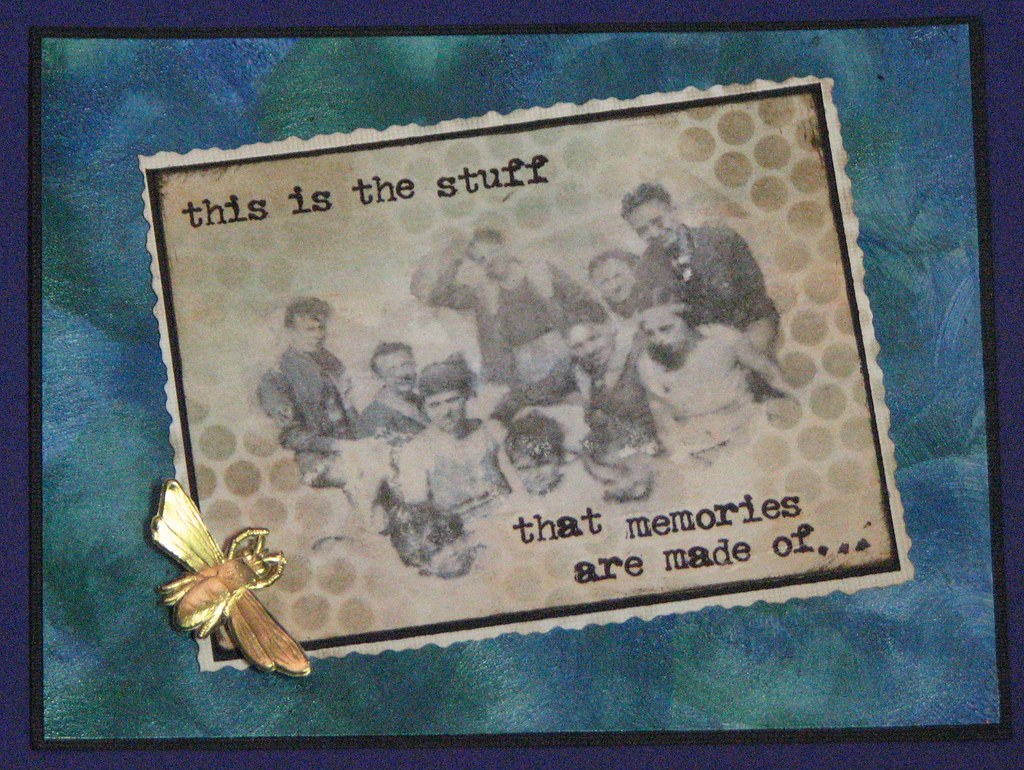
When you're finished you will end up with something like this! A very vintage distressed image instantly.
I can't stress enough how quick and easy this technique is. You could easily make several transfers in a 4-5 minute period. I cant' tell you how rewarding it is when some of the other image transfer methods out there take hours or days to complete!
This is the stuff....
This is the stuff....
Supplies: Transfer Ink - Stewart Superior; Distress Ink - Ranger; Dimensional Pearls - Ranger; Ink Blending Tool & Foams - Ranger; Rub On sentiment - Creative Imagination; Bee Scrap - Hannah Grey
 This is an example of a color transfer made using the Transfer Ink....I didn't want the entire image transfered so I just spritzed the center and worked the excess Transfer Ink towards the outter edges where I wanted.
 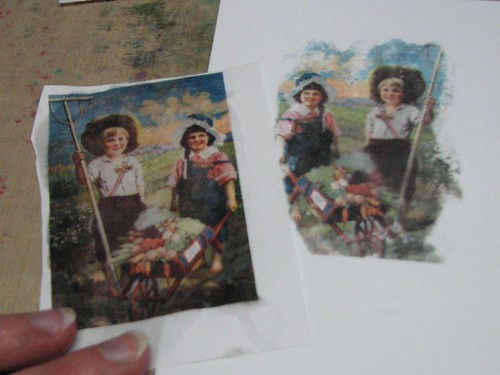 And the finished results!
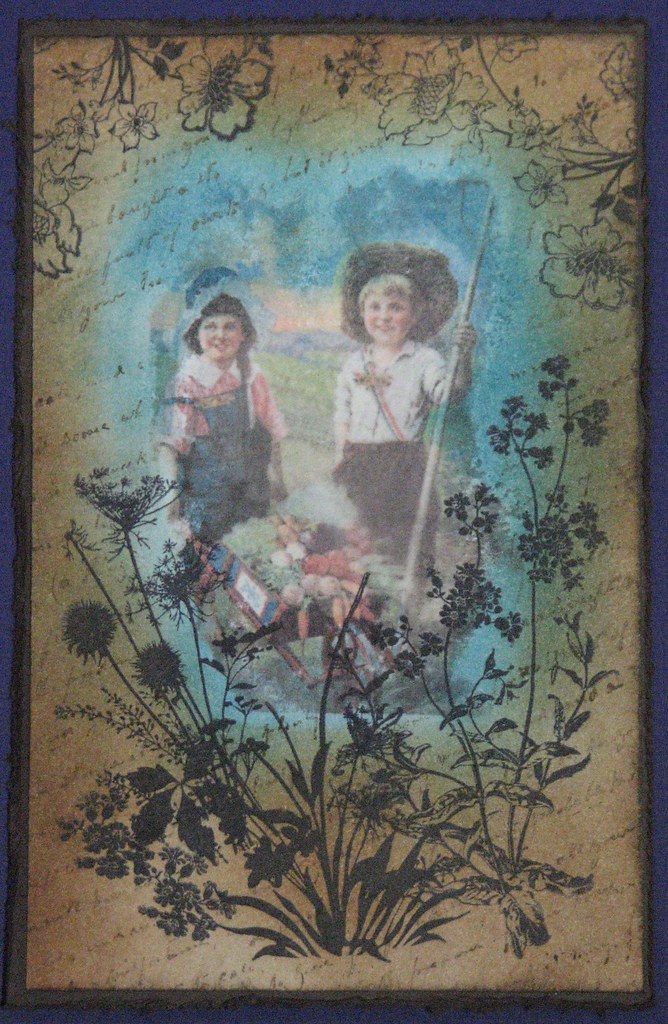
Happy Harvest
Supplies: Transfer Ink - Stewart Superior; Distress Inks - Ranger; Ink Blending Tool - Ranger; Rubber Stamps - Hot Off the Press
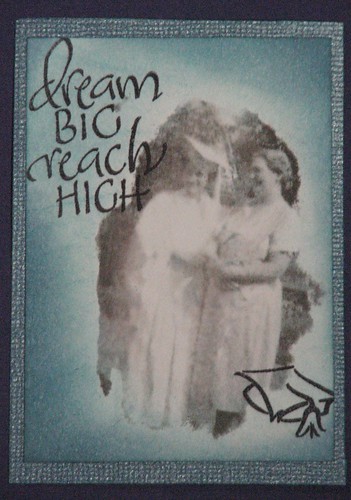
 Dream Big
Supplies: Transfer Ink - Stewart Superior; Distress Ink - Ranger; Ink blending Tool - Ranger; Rubber Stamps - Paper Wishes; Archival Ink - Ranger; Bazzill Bling Cardstock
See, I told you these transfers were really easy!!
Tomorrow I'll share some transferes made
using rubber stamped images.
Till then ~ have an Awesome Evening Friends!!
OMG - that is so cool!! I am definately getting some of this and trying it out. Thanks =)
ReplyDeleteWow - you're not gonna believe it, but I swear on my cat that it's true. I already HAVE this product sitting (unused - lol) in my drawer. I am so excited! And I remember now that that's exactly why I bought it - to be able to do transfers on ink jet copies, which I have. I, too, have done those other techniques which need a toner copy and all sorts of layers of this goop or that goop and then, no matter which kind you try, you end up rubbing the paper backs (AND the backs of your fingers) off in the kitchen sink. The rubbing part takes forever and a day, only to have it dry foggy and have to re-wet it and rub some more.
ReplyDeleteSo... you can see why I am so excited! I bought this stuff, and now that I see how easy it is, I am definitely going to use it. I'll even e-mail you a pic or two. (I'm on a deadline for work at the moment, so it might be later this week.)
Very, very cool, Roni. Thanks!
~phinny
How cool!! Love it!! Neat technique. :)
ReplyDeleteWow that is so cool.
ReplyDeleteWhen you spray of the transfer ink to the photos can I still use the photos that was transfered?
Need those transferring ink have to find some of it.
Thank you for sharing.
Another thing where can I buy those transferring ink?
ReplyDeletewow what an awesome technique! we dont have this solution here in our country..
ReplyDeleteFabulous! Thank you so much for the information. I adore your blog and generous sharing spirit. ~ Angela
ReplyDeleteDoes anyone know if there is anywhere to find the ink transfer spray in the U.S.? Thanks!
ReplyDeleteHi Mary - Unfortunately this amazing product has been discontinued. I contacted the company to ask about it but they never replied. It's really too bad because this remains to be the easiest way to make an image transfer.
DeleteOh Darn!! Well, I guess that explains why I can't find it anywhere... It's exactly what I'm looking for. Oh well. Thank you Roni for getting back to me. I really appreciate it.
ReplyDelete